


How to Connect Nintendo Switch to Projector
By XGIMI Tech - 2023-08
Introduction
Learn how to effortlessly connect your Nintendo Switch to the XGIMI projector with this comprehensive step-by-step guide. Enjoy gaming on a larger-than-life display and explore the advantages of using XGIMI projectors for an immersive gaming experience.
Part 1: How to Connect Nintendo Switch to a Projector?
Unleash the full potential of your gaming experience by connecting your Nintendo Switch to a projector! In this step-by-step guide, we will walk you through the process of hooking up your console to a projector, transforming your gaming sessions into a larger-than-life adventure. Enjoy the thrill of immersive gameplay on a big screen as we cover everything, from attaching the AC adapter and HDMI cable to pairing the Joy-Con controllers wirelessly. Elevate your gaming adventures and indulge in a more captivating experience as we explore the seamless integration of your Nintendo Switch with a projector. Get ready to embrace a whole new level of gaming excitement!

Step 1: Attach AC Adapter and HDMI Cable to Nintendo Switch Dock
Start by ensuring your Nintendo Switch console is powered off. Take the AC adapter provided with your Nintendo Switch and plug it into the power input on the back of the dock. Connect the other end of the adapter to a power outlet for the necessary power supply.
Locate the HDMI-out port on the back of the dock and insert one end of the HDMI cable into it. The HDMI cable will transmit both audio and video signals from the console to the projector. Connect the opposite end of the HDMI cable to the HDMI input on your projector.
Step 2: Connect Joy-Con Controllers with the Console
With the AC adapter and HDMI cable properly connected, it's time to pair the Joy-Con controllers with your Nintendo Switch console. Ensure both the console and the Joy-Con controllers are powered on.
The Joy-Con rails on the sides of the Nintendo Switch allow you to easily attach the controllers. Slide each Joy-Con controller into its corresponding rail until you hear a click, indicating they are securely attached.
Once connected, the console will automatically recognize the controllers. An on-screen prompt will instruct you to press the L and R buttons on the Joy-Con controllers to complete the pairing process.
Step 3: Insert the Console Inside Your Dock
With the AC adapter, HDMI cable, and Joy-Con controllers set up, gently insert your Nintendo Switch console into the dock. Make sure the console is powered off before proceeding.
Orient the console with the screen facing away from you and the rear of the console facing the open slot on the dock. Carefully slide the Nintendo Switch into the dock, aligning the USB-C connector at the bottom of the console with the corresponding port in the dock.
Push the console down slightly to ensure a snug fit. As the console is inserted, it will power on automatically, and the display will appear on the connected projector, indicating a successful connection.
Step 4: Connect the Dock to Your Projector
Now that the Nintendo Switch console is securely in the dock, it's time to establish the connection between the dock and your projector.
Locate the HDMI cable that you previously connected to the HDMI-out port on the back of the Nintendo Switch dock. Take the other end of the cable, which is plugged into the HDMI input on your projector. Ensure the connection is firm to avoid any signal disruptions during gameplay.
Once the HDMI cable is properly connected, power on both the Nintendo Switch console and the projector. On your projector, navigate to the input/source menu and select the HDMI input to which the Nintendo Switch is connected.
Step 5: Enable Both of Your Devices and Check out the Connection
With the Nintendo Switch docked and connected to your projector, it's time to enable both devices and ensure the connection is working correctly.
First, power on your Nintendo Switch console by pressing the power button located on top of the console. The Nintendo Switch logo or the home screen should be displayed on the projector's screen.
Next, turn on your projector and select the correct HDMI input that corresponds to the one connected to the Nintendo Switch dock. Within a few seconds, the console's display should appear on the projector.
Verify that the audio and video are transmitting smoothly, and there are no signal interruptions or display issues. Once everything checks out, you're all set to enjoy your favorite Nintendo Switch games on the larger-than-life projection!
Part 2: FAQs
Q1. Why Are Nintendo Switch Consoles So Pricey?
Nintendo Switch consoles may be considered relatively pricey due to several factors. Firstly, Nintendo has always aimed to provide high-quality gaming experiences with innovative features, which can reflect in the pricing. The unique hybrid design of the Switch, allowing it to function both as a handheld and a home console, adds to its value.
Moreover, the console boasts a vast library of exclusive and popular games, contributing to its appeal and price point. Nintendo's strong reputation and dedicated fan base also influence the demand, resulting in a premium pricing strategy compared to other gaming consoles in the market. Despite the higher price tag, the Nintendo Switch's versatility, innovative features, and beloved game titles continue to attract gamers and make it a popular choice in the gaming community.
Q2. What Are Common Connectivity Ports in Nintendo Switches?
Nintendo Switch consoles come equipped with various common connectivity ports to enhance the gaming experience. The primary port is the USB Type-C port, serving as the charging port and allowing connection with various accessories.
Additionally, the console features a 3.5mm headphone jack for audio output, enabling players to use headphones or external speakers for sound. Moreover, a microSD card slot is available, providing expandable storage for more games and content.
These connectivity options offer users flexibility and convenience, making the Nintendo Switch a versatile gaming device suitable for both at-home and on-the-go gaming experiences.
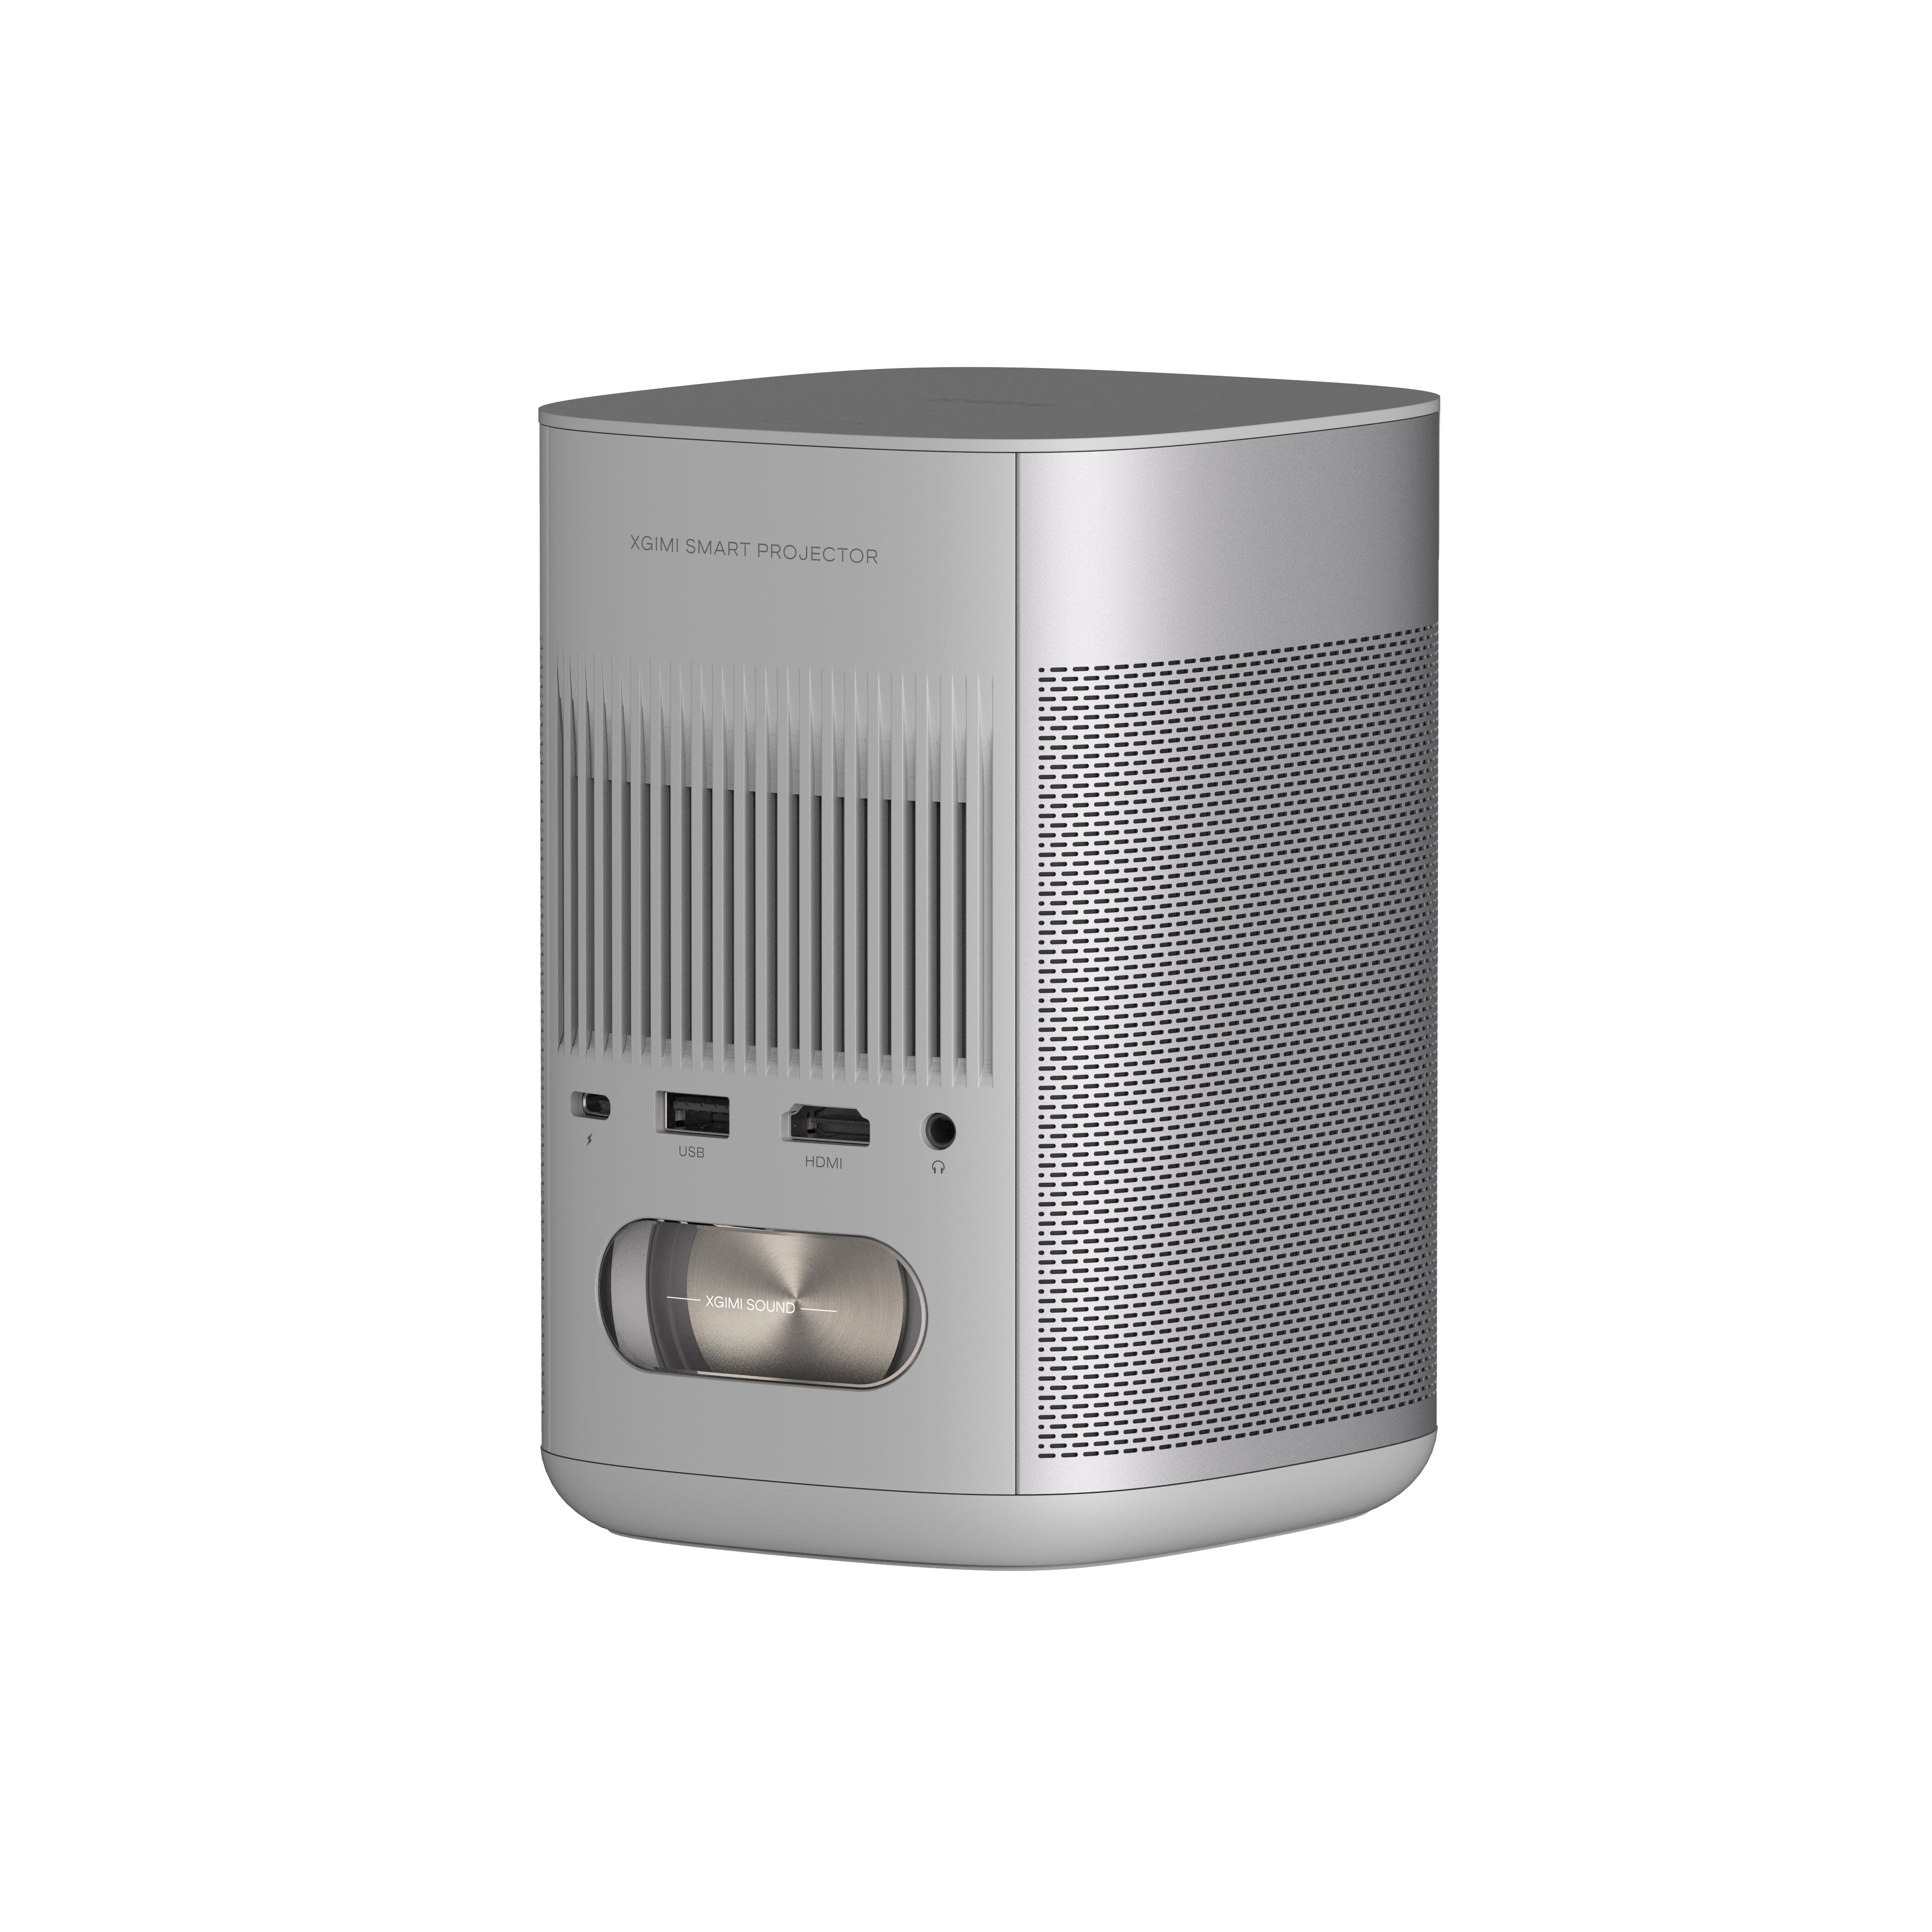
Q3. What Are Common Connectivity Ports in Projectors?
Projectors commonly come equipped with various connectivity ports to accommodate different devices and enhance versatility. The most prevalent port is the HDMI input, enabling seamless connections with gaming consoles, laptops, DVD players, and more.
Additionally, projectors often feature VGA ports, enabling compatibility with older devices and computers. USB ports are also common, enabling direct playback of multimedia files from USB flash drives.
Some projectors may include audio-out ports for connecting external speakers or headphones, while others offer wireless connectivity options like Bluetooth or Wi-Fi for more convenient streaming and mirroring.
These connectivity ports provide users with multiple options to connect and enjoy various content on the big screen, making projectors a versatile display solution for various multimedia devices.
Q4. Can I Play the Switch on My Projector?
Absolutely! You can play the Nintendo Switch on your projector and enjoy a more immersive gaming experience on a larger screen. By following the steps outlined in Part 1, you can easily connect your Nintendo Switch console to the projector using an HDMI cable.
This connection allows you to project the Nintendo Switch's audio and video onto the larger screen provided by the projector, creating a more captivating gaming experience.
Whether you're playing games at home or on the go, connecting your Nintendo Switch to a projector offers the opportunity to enjoy your favorite games on a bigger display, making gaming sessions even more enjoyable and visually captivating.
Q5. What Makes Nintendo Switches Familiar?
Nintendo Switch consoles are familiar and beloved for several reasons. Firstly, the iconic design of the console, featuring detachable Joy-Con controllers and a versatile hybrid form factor, sets it apart from traditional gaming systems.
Moreover, Nintendo's extensive library of beloved and exclusive game titles featuring iconic characters like Mario and Zelda appeals to gamers of all ages. The ability to seamlessly switch between handheld and TV modes and the convenience of multiplayer gaming with friends and family further solidify the Nintendo Switch's familiarity and popularity among gaming enthusiasts.
The console's family-friendly approach, diverse game library, and innovative gameplay concepts also contribute to its widespread recognition and appeal among gamers of all ages, making Nintendo Switches a household name in the gaming industry.
Q6. Can I Utilize a Projector with One Gaming System?
Absolutely! Projectors are versatile display devices that can be utilized with a single gaming system, including the Nintendo Switch.
Whether you have a gaming console, a gaming PC, or any other gaming device with an HDMI output, you can connect it to a projector for a larger and more immersive gaming experience.
Projectors offer big-screen gaming without the need for a dedicated TV, making them an excellent choice for gamers who want a more cinematic feel.
So, whether you're playing on your Nintendo Switch or any other gaming system, connecting it to a projector can elevate your gaming setup and bring your favorite games to life on a grand scale.
Q7. Can You Connect Nintendo Switch to the TV Wirelessly?
While the Nintendo Switch itself does not support wireless TV connectivity natively, you can achieve a wireless connection using third-party devices.
One popular option is using a wireless HDMI transmitter and receiver set. Simply connect the HDMI transmitter to the Nintendo Switch dock's HDMI-out port and the receiver to your TV's HDMI input.
This setup allows you to wirelessly transmit audio and video signals from the Nintendo Switch to the TV without the need for physical cables.
However, it's important to ensure that the wireless transmitter and receiver are compatible with your devices to ensure a smooth and reliable wireless connection.
Experience Entertainment with XGIMI Projectors!
Elevate your home theater with stunning visuals and immersive sound. Whether it's movies, gaming, or presentations, our projectors redefine the experience. Don't miss out on the future of entertainment – buy your XGIMI Projector now and enjoy a world of captivating moments!
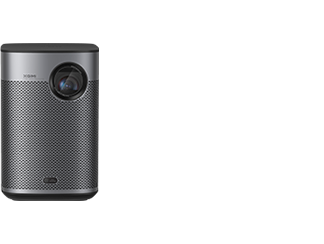
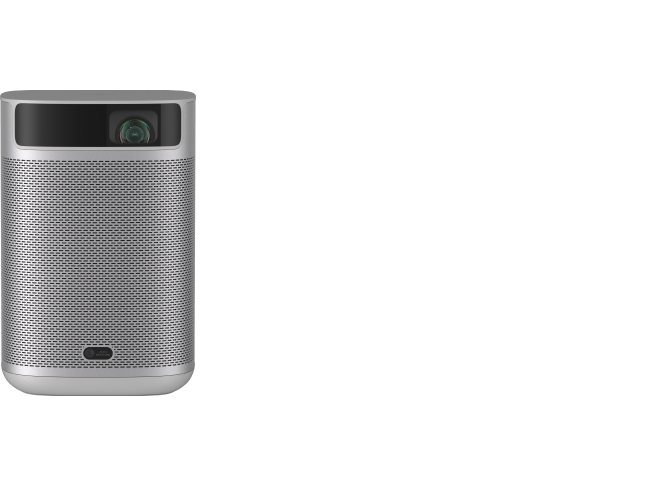
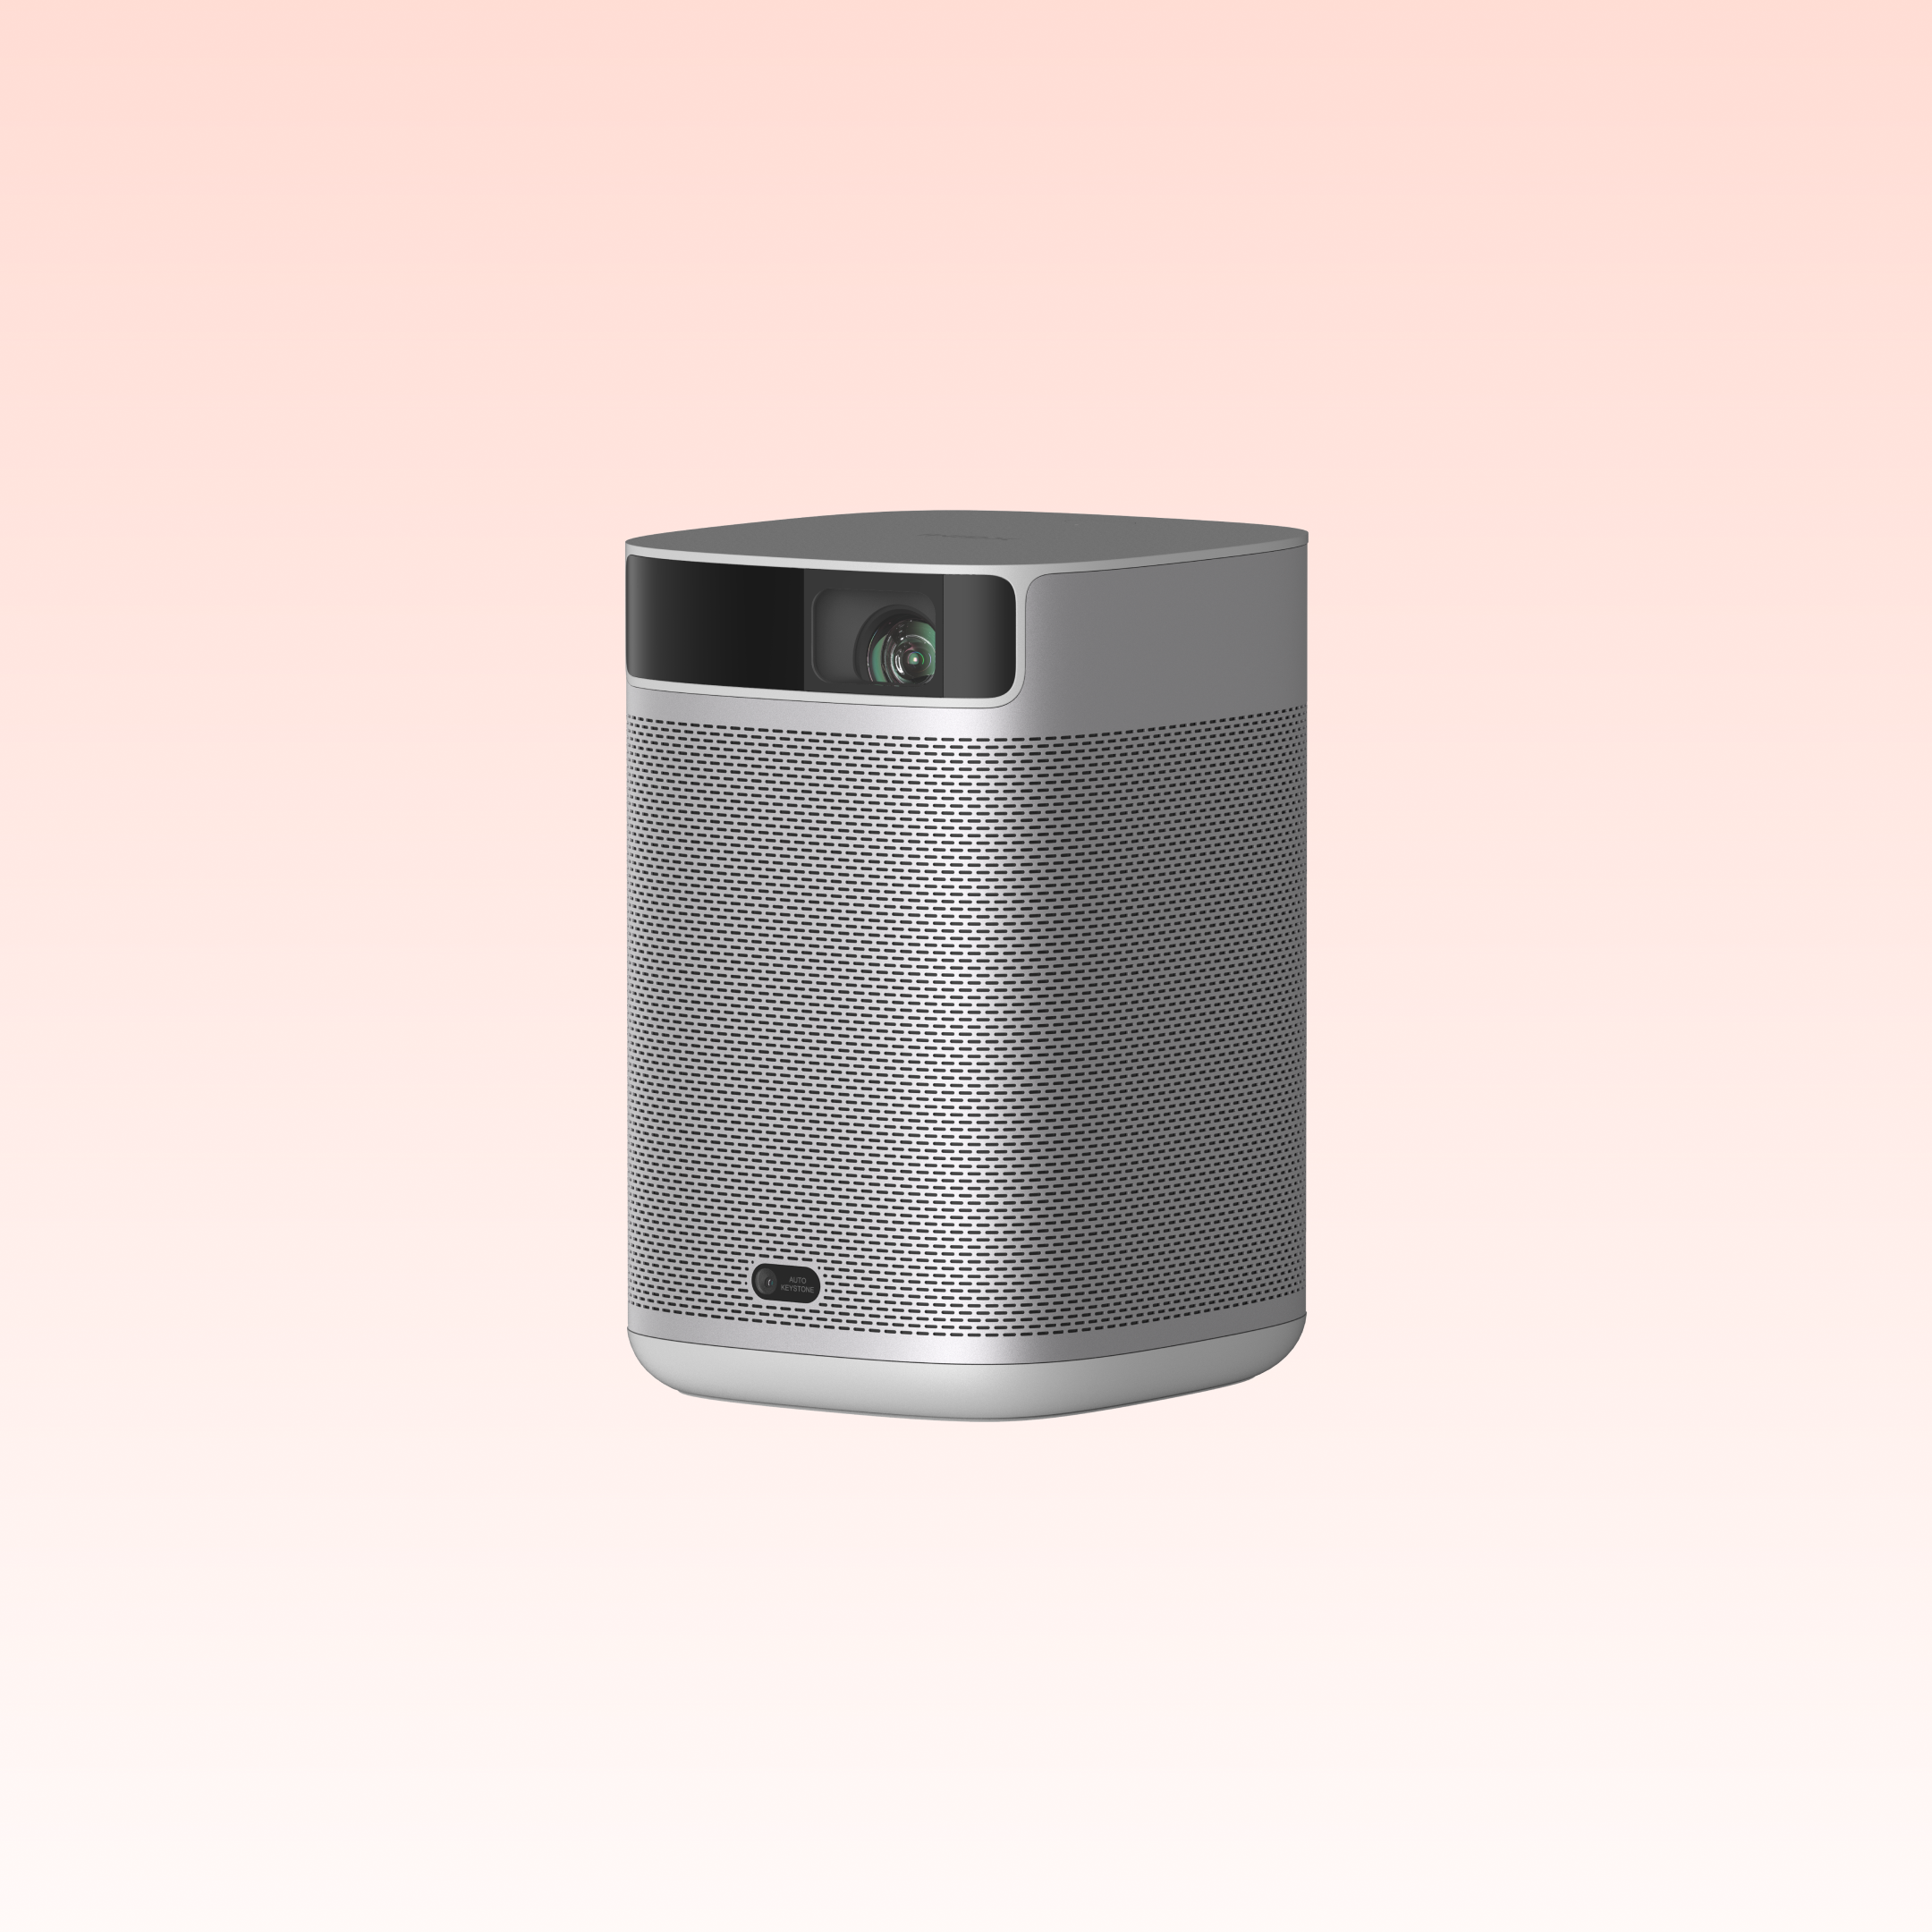
XGIMI MoGo 2
- Cinematic Visuals for Only $399: MoGo 2's 400 ISO lumens, integrated D65 color temperature standard, and 90% DCI-P3 color gamut offer a cinematic big-screen experience with bright, colorful images.
- Plug and Play: Let MoGo 2 do the work for you. With our industry-leading ISA 1.0 technology, enjoy the easiest projector setup experience.
- Movies on the Go: MoGo 2 connects to your power bank and is easy to move to different rooms or during your outdoor adventures.
- 8W Speakers with Dolby Audio: MoGo 2's built-in dual 8W speakers with Dolby Audio provide impressive sound, helping you immerse in your favorite movies, music, and more!
- Android TV 11.0, Thrilling 3D Movies at Home: MoGo 2 decodes 4K video smoothly and supports 3D content. With the upgraded Android TV 11.0, you get the ultimate user-friendly experience.
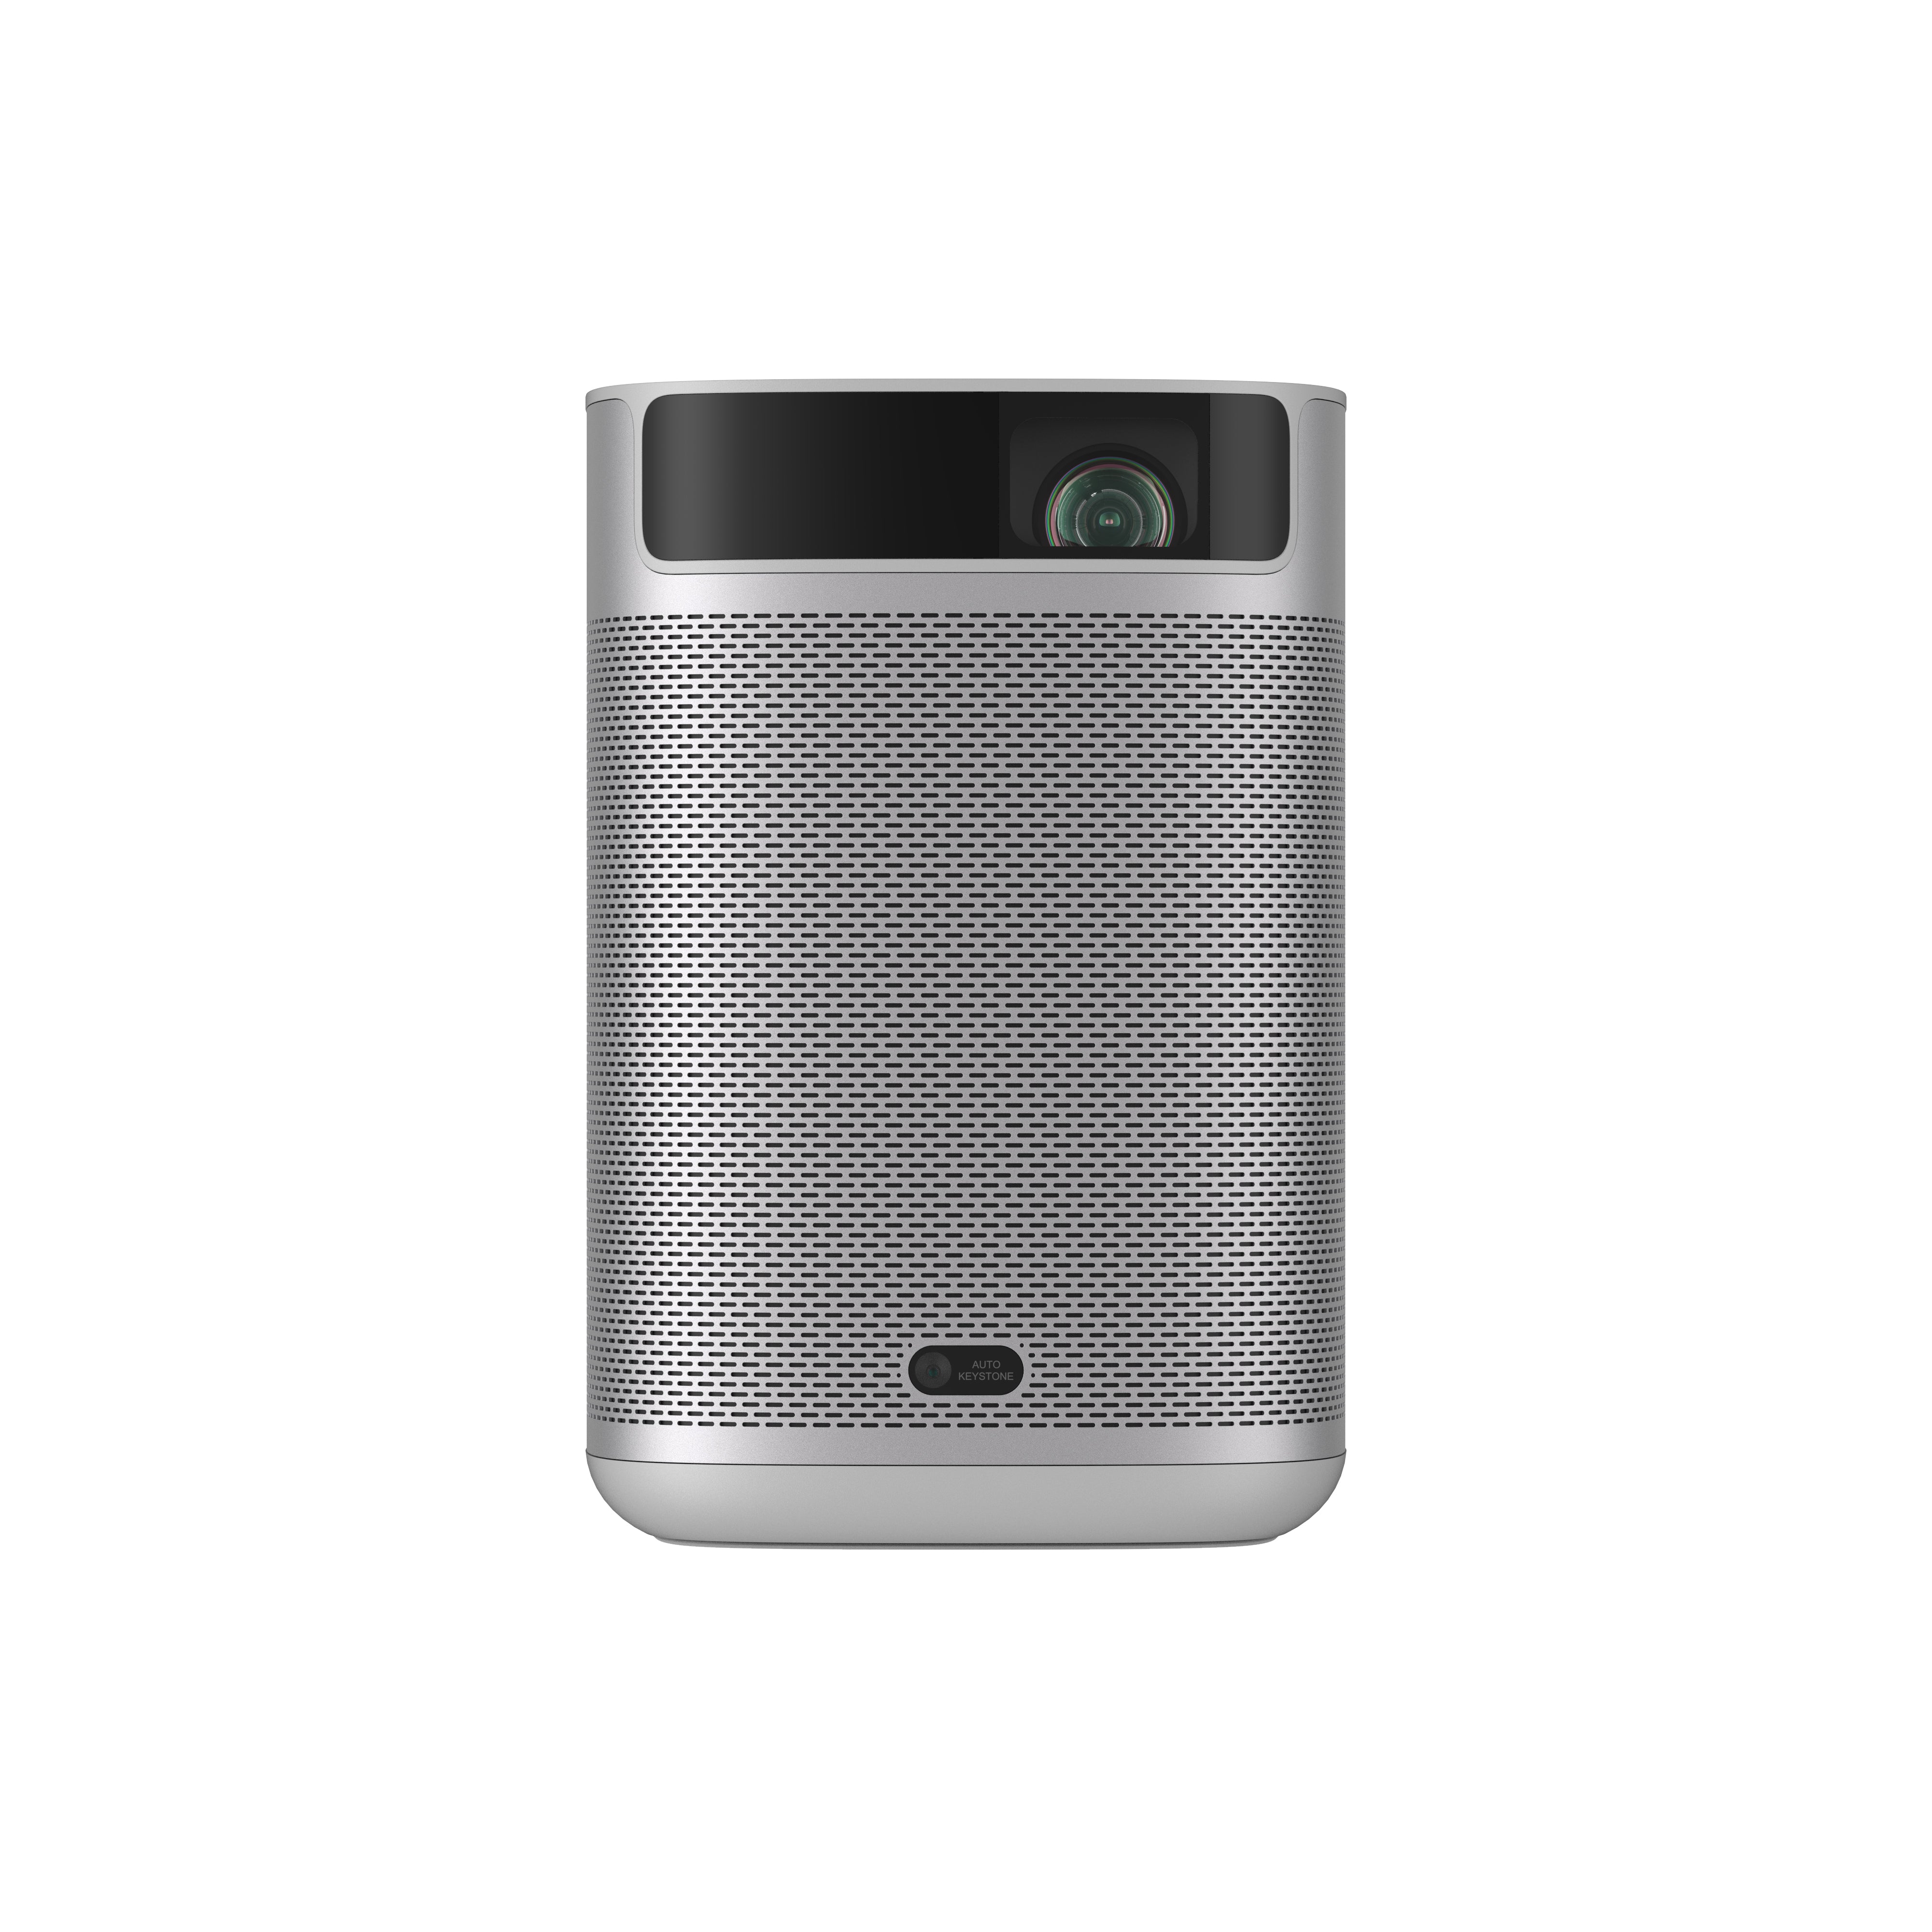

XGIMI MoGo 2 Pro
- Hollywood-Standard Visuals: With 400 ISO lumens, integrated D65 color temperature standard adopted by Hollywood, and a 90% DCI-P3 color gamut, all colors are restored in brilliant, lifelike detail.
- Seamless Setup, Smart Projecting in a Snap: Our new ISA 2.0 technology ensures you never miss a moment of your favorite movies, TV shows, or games.
- 8W Speakers with Dolby Audio: MoGo 2 Pro offers a deeply immersive and cinematic audio experience thanks to its built-in dual 8W speakers with Dolby Audio.
- Smooth Android TV 11.0 and 3D Movies at Home: Decodes 4K video seamlessly and supports 3D content. Moreover, the upgraded Android TV 11.0 provides the ultimate user-friendly viewing experience.
- Movies on the Go: Easily connect MoGo 2 Pro to your power bank, allowing you to move it to different rooms or take it on your next outdoor adventure.


Conclusion
In conclusion, connecting your Nintendo Switch to a projector opens up a whole new world of gaming possibilities. By following the simple steps outlined in this guide, you can easily hook up your console to a projector and enjoy an immersive gaming experience on a larger screen.
Related Products
Enjoy $10 off Your Next Purchase
Join the XGIMI Community Today!